Showing posts with label DIY. Show all posts

Sunday, May 31, 2015

Just A Few Things That Make Me Happy

 
I bought this owl at a thrift store, I so should of taken a before picture because it was very ugly. I loved the owl itself  but the paint job was not good.  I simply spray painted it white and glazed it with dark brown. I took it to work to hold my pens.  A lady stopped by my window and said "Oh I just saw that at Pier One!"  Ah no you didn't this one is from the 1970's! lol


I love shutters.  I took 2 and put them together using some corner shelf pieces I found at my local resale shop.  I painted and grunged them and then decoupaged  old hymns to the inside.


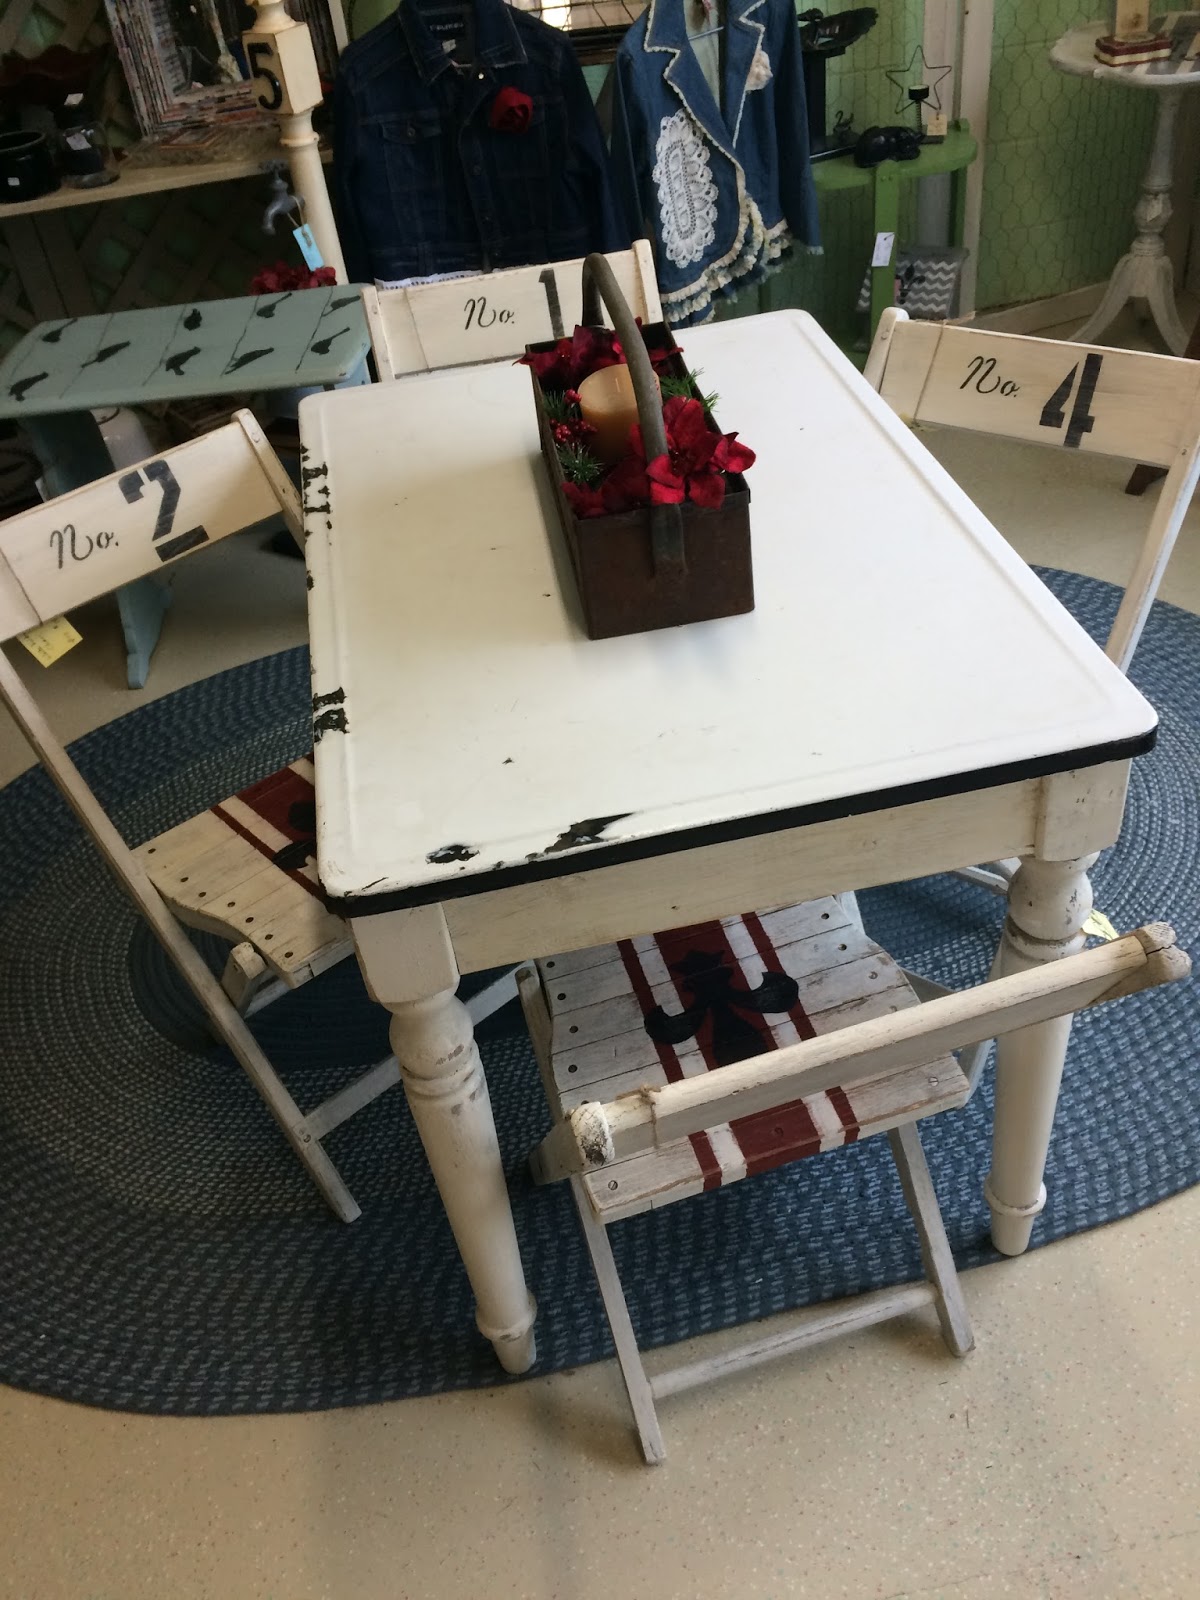
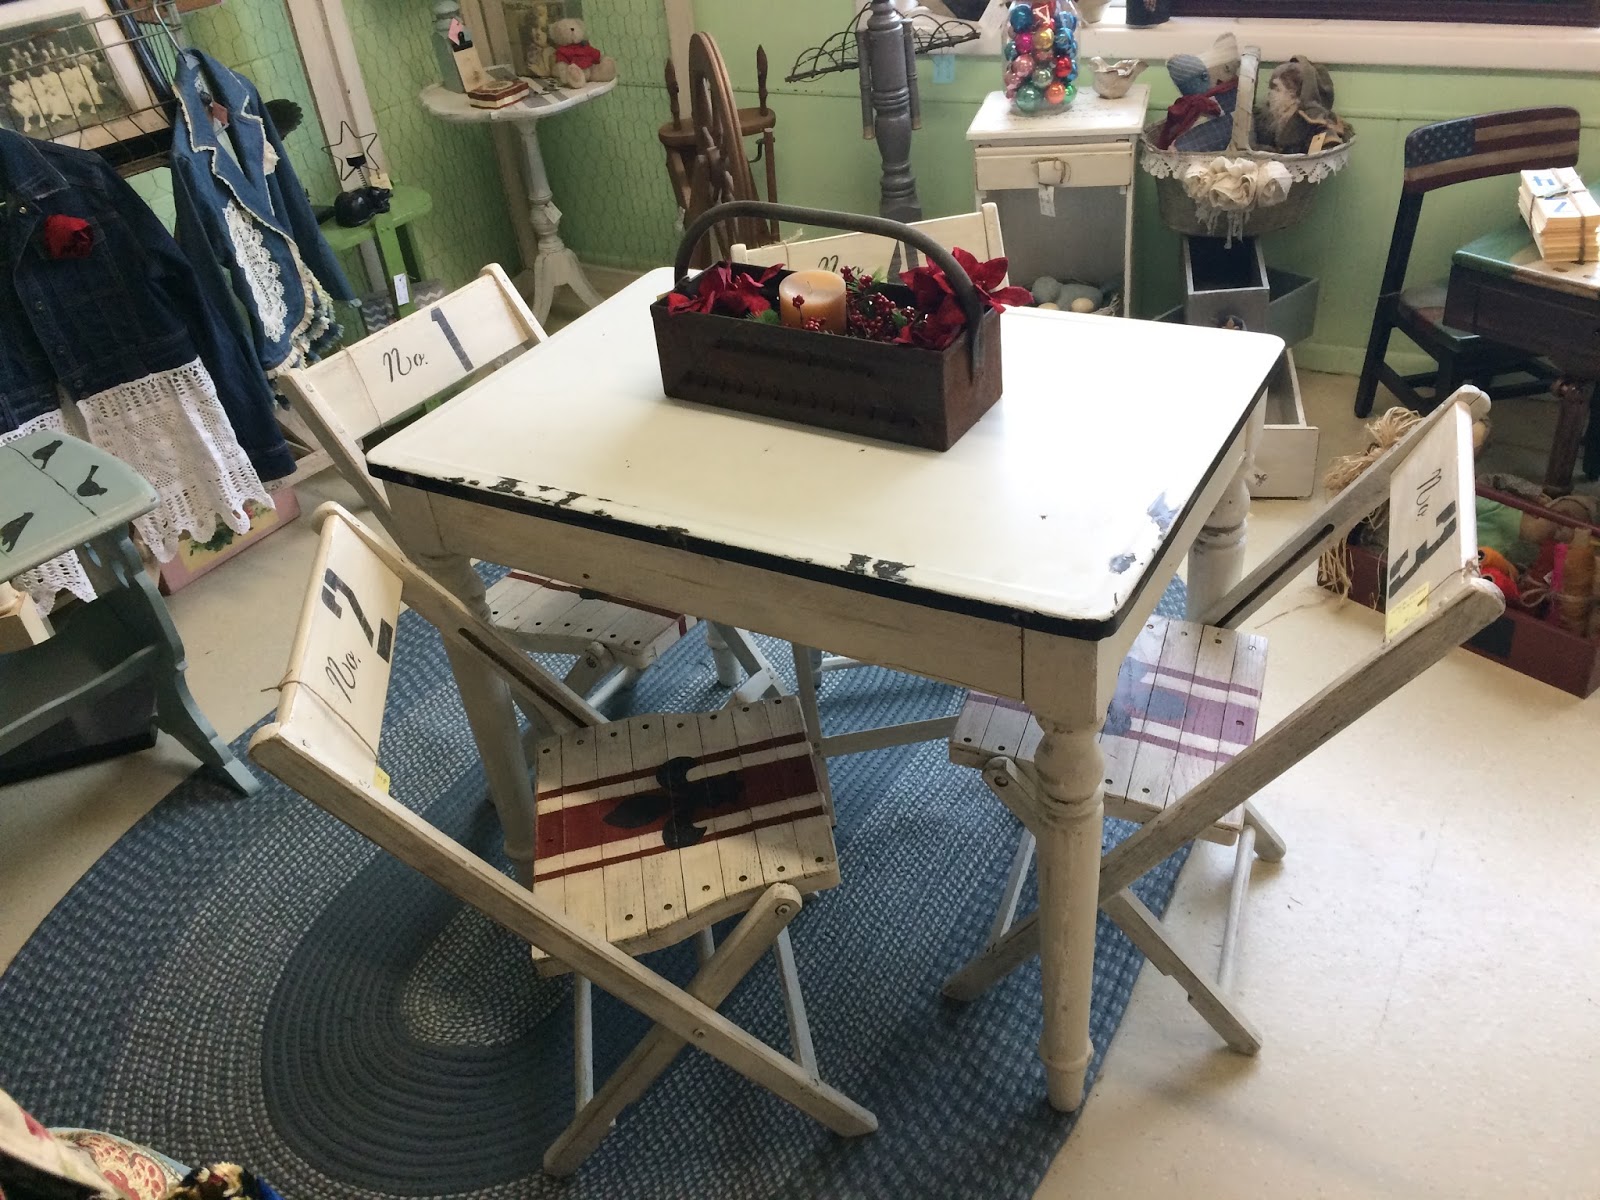
I had this enamel table top that I took off from a desk a while back. I found some antique table legs and my husband put them all together to make this farm table.  I painted up some old wooden folding chairs to place around the table.  The table and the centerpiece sold immediately-still have the chairs.


Got this old trunk from a co-worker that needed a bit a TLC.  I painted it up and added the front decorative piece to replace a broken lock. I don't think that you would immediately know that if I didn't tell you...at least that is what I hope! LOL I put a metal number on the front too. I crackled the finish and antiqued it as well.


The inside had this cool piece that was hinged that opened for extra storage. I had to make new hinges and put some paper over the wood to hide the flaws. I used really old paper from a hymn book so you really couldn't tell it was done in 2014 more like 1914.
 
 
Just a  painted high chair for a doll and a birdhouse.


I got these child size shoes at an antique store and put them on this basket.  I took a picture and just loved how it looked.  This is what I love anything old, rusty, and worn!


I hope my Son got his creativity from me! His tape measure broke and this is his version of redneck repair. Yee Haw I love it!!!!!!!!!!!!!

 
This guy took my heart the day he was born.  He makes me laugh and is a great Son.  I truly hope that where ever life takes him he never changes and always remains the loving fun person that he is!
 

Monday, May 25, 2015

Unique Hand Made Tables

 
ENJOY THE RIDE TABLE-This table started out with 2 bicycle rims and 2 boards from my stash.  I added some big old castors that I got from a junk shop to make it roll. If you are going to "enjoy the ride" then you better be able to roll! I hand painted the top and stenciled the bottom.


My son brought 2 cable spools home from work for me to play with.
 
 
I painted them up and added castors to the bottom.


In this picture you can see that I attached some jute to the middle to make it look like a spool of twine.
 
This table started out with two bi-fold doors. I originally bought them to make a clothing rack but decided against it because they were way to tall.  Left with my 8.00 investment I let them sit for a couple of months and then decided they would make a great couch table. You know the kind that you put behind your couch to display cool stuff on.  I uses some old table legs and some castors on the bottom so you could move it around easily.  I hand painted the designs on the top of the table.


This is one of my favorite tables.  It was made from 2 large drawers I found at the Re-Store.  I added some large spindles and once again some castors and came up with this table.  I even added some hooks on the end for towels or utensils or kid's jackets. Whatever! I painted it shabby white and stenciled it with a French script stencil.


______________________________________________________________________-
I can't even believe I made this table, but I did.  When I say I made it I mean it. I design my creations and then put them together myself.  This one I made from a large drawer and 2 auto creepers that are used to scoot under a car when you are fixing it.  The wheels roll very nicely.  I used some old table legs to connect the 2 parts and an old baby bed spring for the back. I hand painted the design on the front and added the floral swag.  I forgot to take pictures of it so the lady who bought it was kind enough to email these two pictures.  I think she did a great job taking the picture it reminds me of something out of a "Romantic Home" magazine!


Garden Table, Collector's Sign and Shabby Bookshelf

This sign is one I have in the front window of my booth.  I had made one using this saying a while back and thought this would be a great advertisement for incoming traffic at the Antique Store where my things are for sale.  I used an old frame with a piece of thin ply wood inserted to paint the sign on.  It is a big sign and you can't miss it when you walk by the front window.


__________________________________________________________
I made this garden table from 2 door panels several spindles and 2 shutters.  The top piece is a rescued piece of window trim from an old farm house that was taken down.  I painted the panels on the shutters as chalk boards and hand painted the design on the table top. I had some rusty fencing that I used to fill in, in between the shutters.  You can clip notes and pictures to it.  I love to make garden tables and make them I think on the average of every 3 months or so.  I am in the process of finishing one now, so look for it down the road.

_____________________________________________________________
 
 
This piece is a book shelf I found at a resale shop.  I really liked it because it has the two drawers on the top.  It needed a little fixing but was in relatively good condition when I bought it.  It was a bright red and I wondered how many coats it would take to cover the red, turns out it took only one good base primer and two coats of regular off white. 


I used the Modge Podge method to transfer the designs to the top of the book case and even put crowns on the knobs using that method.  It came out better than I expected and sold right away.